Creating and Running SecOps Compliance Scans
Creating and Running SecOps Compliance Scans
This Learn in 5s section provides a walkthrough of how to create a compliance scan within SaltStack Config SecOps and then how to run the scan. SaltStack SecOps allows you to scan minions for compliance against various security benchmarks, detect vulnerabilites and the remediate results. SaltStack SecOps Compliance scans your system for compliance with supported security benchmarks from accredited institutations (such as CentOS Linux Level 1 and 2 Senior and Workstation) and allows you to remediate nodes that are not in compliance. It includes two compliance libraries:
Compliance Content Library - Built-in security content
Compliance Content Custom Library - Custom checks and benchmarks defined and uploaded by your organization.
Creating a Compliance Policy
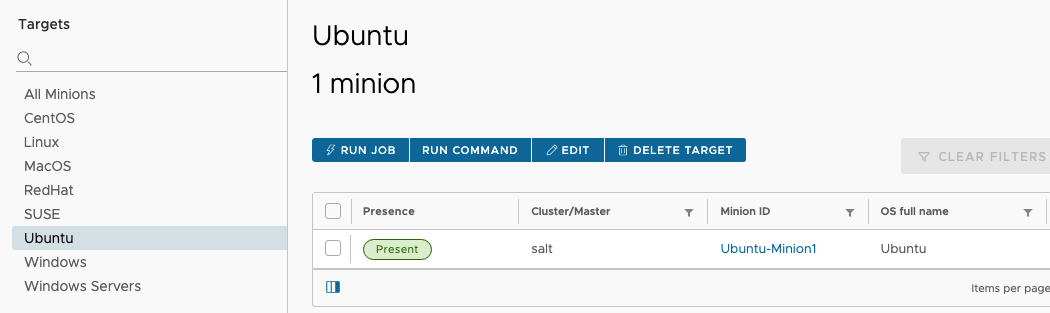
Before creating a SecOps policy it is helpful to create or know which Minion Target Groups will be applied to the policy. For instance if the policy will apply to all of your Ubuntu machines, then you will want to ensure that the Ubuntu target group is populated with machines. These target groups will help us apply the policy to the correct set of mmachines.
Once you have identified which group of machines you want to target, then navigate to the Compliance section of the UI. There you will see a section called Policies. When you click on that you will see an option to “Create Policy”.

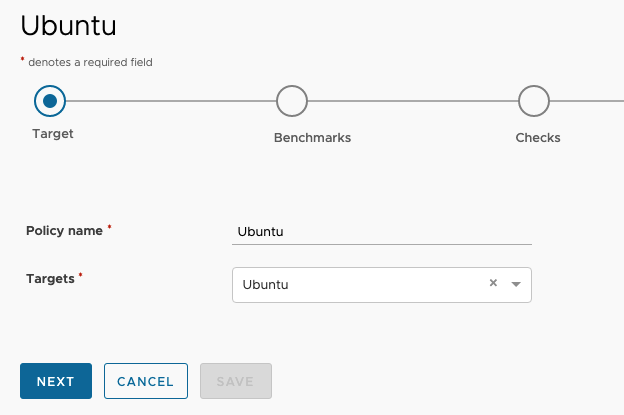
Once you click Create Policy you will be prompted to pick the target group that you want to run scans against.
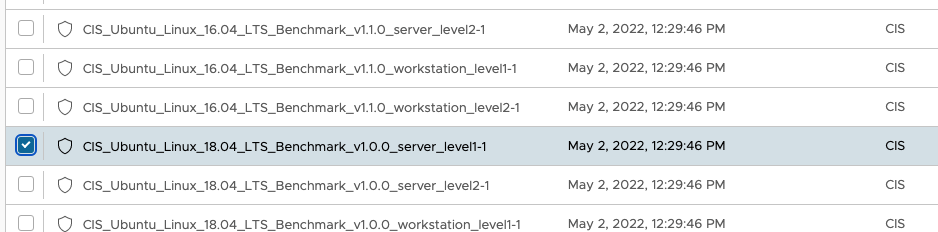
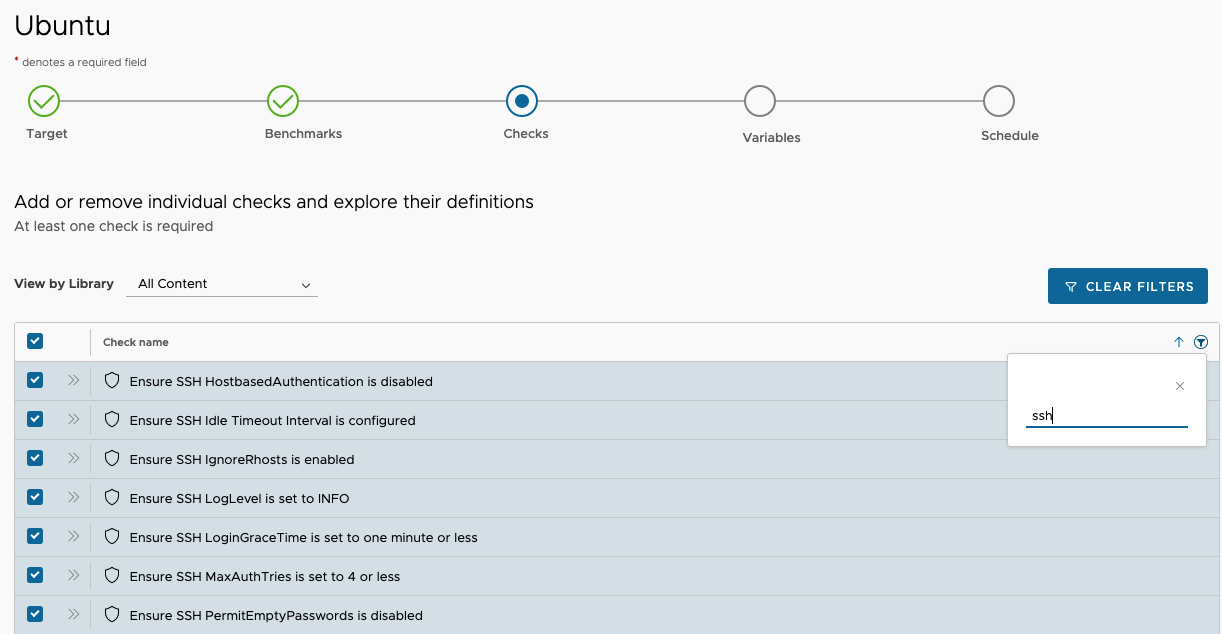
On the next screen you will want to choose the benchmarks that are relevant to your Operating System. In the example below a CIS Ubuntu 18.04 benchmark was chosen. Once you choose a benchmark and click next, you can then see the Checks that are associated with the benchmark. If you click the double arrows next to the check you can see informatin about it.
You may not want to run all the checks during the scan, so you can filter which checks you are most interested in and apply those to the policy. For instance in the example below you can see the filter is looking for Checks that are relevant to SSH content.
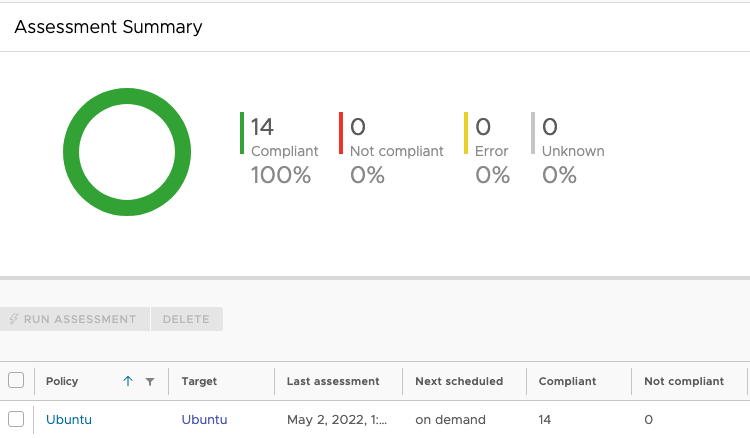
Once you have chosen the content you want then you can complete the policy creation and choose if you want to run the assessmnent, schedule it or just save the policy and run the assessments later. Once you run an assessment the system will report back which machines were found to have non-compliant and compliant checks associated with them. At that point you can choose to remediate the checks via the remediation button.
Once the remediation scan is complete then you will need to rerun the assessement to see the final compliant report.